Table of Contents
- Getting Started with Git
- Basic Git Workflow
- Branching & Merging
- Undoing Changes
- Working with Remotes
- .gitignore & Configuration
- Tags & Releases
- Advanced Tips
- How to Create a GitHub Repository and Push Your Current Project Folder
1. Getting Started with Git
Before you dive in, configure your identity once per machine:
git config --global user.name "Your Name"
git config --global user.email "you@example.com"
Initialize a repo in an existing project:
cd /path/to/project
git init
Verify status:
git status --short
2. Basic Git Workflow
The three fundamental states—working tree, staging area, history—drive Git’s model:
# Stage specific files
git add src/app.js README.md

# Commit staged changes with a concise message
git commit -m "feat(app): add initial routing logic"

# Inspect commit history
git log --oneline --decorate --graph
Tip: Use imperative tense in commit messages (e.g., “Fix bug” not “Fixed bug”).
3. Branching & Merging
Create isolatable workstreams:
# Create and switch to feature branch
git checkout -b feature/auth-flow

# After work, switch back
git checkout main

# Merge feature into main
git merge --no-ff feature/auth-flow
Keep history linear:
git pull --rebase origin main
4. Undoing Changes
Recover gracefully from mistakes:
# Discard unstaged edits to a file
git checkout -- config.yml

# Unstage without losing changes
git reset HEAD src/app.js

# Hard reset to previous commit (use with care)
git reset --hard HEAD^

# Revert a public commit
git revert f3a1b2c
5. Working with Remotes
Link local and remote:
# Add GitHub origin
git remote add origin git@github.com:USER/repo.git

# Fetch updates without merging
git fetch origin

# Pull + merge
git pull origin main

# Push new branch upstream
git push -u origin feature/auth-flow
Or with GH CLI:
gh repo create --public --source=. --remote=origin --push
6. .gitignore & Configuration
Example .gitignore:
# Node.js
node_modules/
dist/

# IDEs
.vscode/

# OS
.DS_Store

# Env files
.env
Global ignores and aliases:
git config --global core.excludesfile '~/.gitignore_global'
git config --global alias.st 'status -s'
git config --global alias.lg "log --oneline --graph --decorate"
7. Tags & Releases
Mark releases semantically:
# Annotated tag
git tag -a v2.0.0 -m "Release v2.0.0: major refactor"

# Push single tag
git push origin v2.0.0

# Push all tags
git push --tags
8. Advanced Tips
- Interactive rebase for cleanup:
git rebase -i HEAD~5 - Stash work in progress:
git stash push -m "WIP: experiment with UI" git stash pop - Bisect to find a bad commit:
git bisect start git bisect bad # current is bad git bisect good v1.5 # known good tag - Cherry-pick a single commit:
git cherry-pick 7f8d9a1
How to Create a GitHub Repository and Push Your Current Project Folder
This guide walks you through the fastest and cleanest way to:
- Initialize a local Git repository
- Create a remote repository on GitHub
- Push your entire local project up to GitHub
Whether you are setting up your first repo or just need a quick reminder, this covers it in a clean, professional way.
Step 1: Navigate to Your Project Folder
cd /path/to/your/project
Make sure you are inside the root folder of your project.
Step 2: Initialize Git (if not already done)
git init
This creates a .git/ folder and starts tracking your project.
Step 3: Stage All Files
git add --all
This stages all your files for the first commit.
Step 4: Commit Your Changes
git commit -m "chore: initial project setup"
Use a clear, simple commit message. Conventionally, use chore: for setup work.
Step 5: Create the Remote GitHub Repository
Option A: Using GitHub CLI (gh)
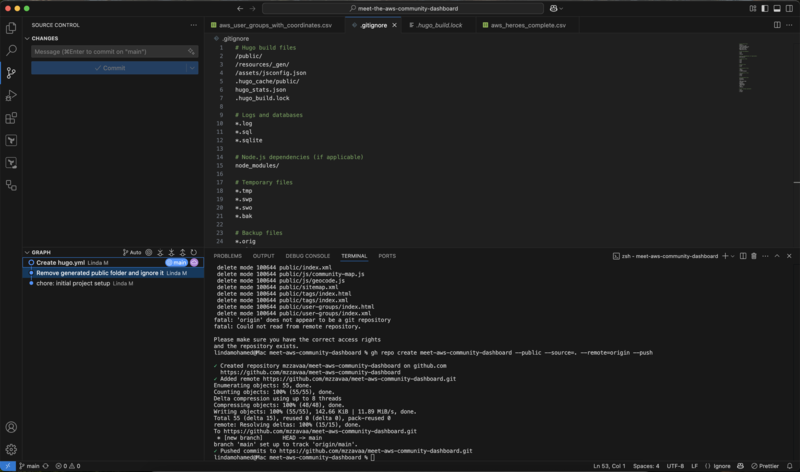
If you have GitHub CLI installed, you can create and push the repository in one command:
gh repo create your-repo-name --public --source=. --remote=origin --push
--publicor--privateto choose visibility--source=.to point to current folder--remote=originsets the remote name--pushautomatically pushes your code
Option B: Manual Setup
If you don’t have the GitHub CLI:
- Go to GitHub, create a new empty repository (do not initialize with README or .gitignore).
- Back in the terminal, link your local repository manually:
git remote add origin git@github.com:your-username/your-repo-name.git
# or if you prefer HTTPS:
# git remote add origin https://github.com/your-username/your-repo-name.git

git branch -M main
git push -u origin main
Step 6: Verify Everything
Check your remote:
git remote -v
Check your branches:
git branch
Check your commit log:
git log --oneline --decorate --graph --all
If you see your commits and the connection to GitHub, you’re done!
Summary
| Step | Command |
|---|---|
| Navigate to project | cd /path/to/project |
| Initialize Git | git init |
| Stage files | git add --all |
| Commit | git commit -m "message" |
| Create repo (gh CLI) | gh repo create your-repo-name --public --source=. --remote=origin --push |
| Manual remote add | git remote add origin <repo-url> |
| Push to GitHub | git push -u origin main |
Bonus Tip: Create a Terminal Alias
If you often create new projects, add an alias to automate initializing, adding, committing, and pushing:
echo 'function gitnew() { git init && git add --all && git commit -m "chore: initial import" && gh repo create "$1" --public --source=. --remote=origin --push; }' >> ~/.bashrc
source ~/.bashrc
Then use it like:
gitnew my-new-project